Installation Guide
Assembly and Disassembly
of Inflatable Screens
Welcome to our page dedicated to detailed instructions for assembling and disassembling inflatable screens. Explanatory videos and step-by-step tutorial.
Tutorial Videos
Watch our explanatory videos to learn how to assemble and disassemble your Hallucine inflatable screens.
Assembly — 10m blower screen
Complete tutorial for assembling a 10-metre blower inflatable screen.
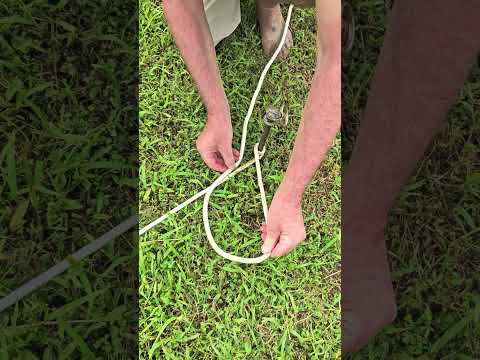
How to attach ropes to stakes
Demonstration of the technique for securing ropes to anchor stakes.
Disassembly — blower screen
How to disassemble and store your blower inflatable screen with ease.
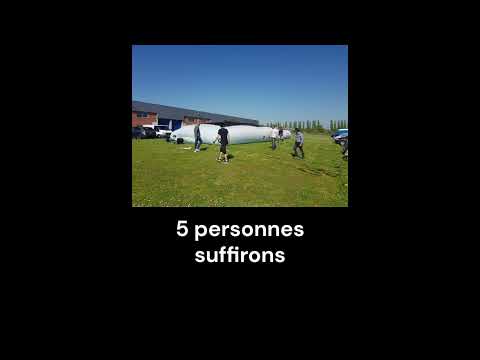
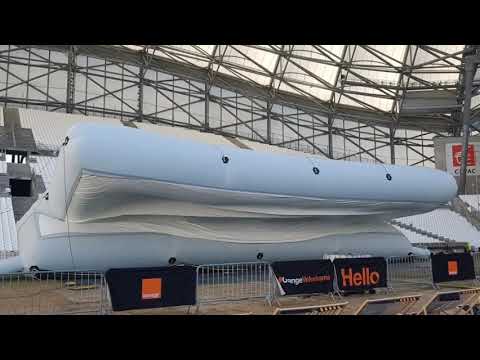
Inflatable screen in action
See our inflatable screens at outdoor events.
Complete assembly tutorial
Step-by-step video guide to installing your inflatable screen.
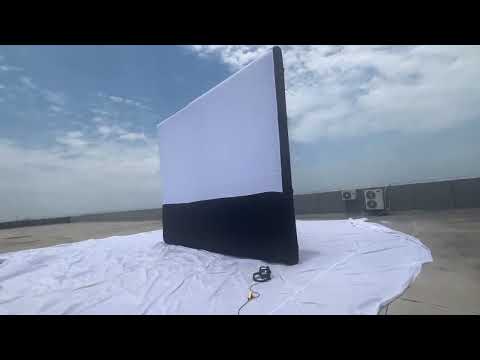
Product presentation
Detailed presentation of our inflatable screens and their features.
User Guide for Inflatable Screen Setup
Follow these step-by-step instructions to install your inflatable screen safely.
Delivery Contents

Abacus chart
Reference document for rope lengths

Blower
Electric blower to inflate the screen
Complete screen
Frame + Projection screen + Bracing cloth + Storage bag
10 Ropes
4 top ropes (longest), 4 bottom ropes (shortest), 2 middle ropes (intermediate length)
Required Equipment Not Included
 4 anchor stakesTape measure
 3 kg mallet
 Green tarpaulin
Setup Steps
Preparation
- Roll out the green tarpaulin on the ground to protect the area where the screen will be installed.
- Unfold the bag lengthways on the tarpaulin, making sure to identify the front of the bag (indicated by a white sticker). Do not open the bag at this stage.

Unfolding the bag lengthways on the tarpaulin
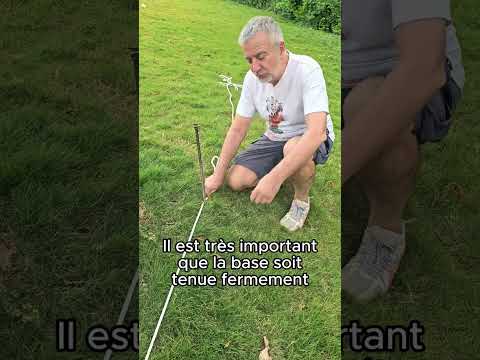
Securing the Screen Base
- Take out the 4 ropes from the 4 pockets of the bag and deploy them at right angles (open the zip pockets).
- Drive 4 anchor stakes, one at the end of each rope.
- Attach the 4 bottom ropes to the stakes to secure the screen base. Make sure these 4 ropes are taut. For each stake, make a round turn, then a simple stopper knot.
- The bag, still closed, will be held in place at the centre of the 4 stakes.

Securing the screen base
Deploying the Screen
- Open the bag and unfold the screen flat on the ground, with the bracing cloth facing down.

Deploying the screen on the ground
Screen flat on the ground
- The screen is now fully unfolded on the ground, ready for the top ropes to be attached.

Screen flat on the ground
Attaching the Top Ropes
- Fold the screen in half on itself.
- Attach the 4 ropes at the top of the screen using the loops provided. Attach two ropes on the right and two on the left, fixing them to the same anchor points on the screen.
- Unroll the 4 ropes, directing 2 ropes towards the stakes at the front of the screen, and the other 2 towards the stakes at the rear.
- Attach the 4 top ropes to the stakes without tensioning them. The length of each rope depends on the distance between the stake and the screen base (refer to the abacus chart provided).

Folding the screen in half on itself
Unroll the 4 ropes
- Direct 2 ropes towards the stakes at the front of the screen and the other 2 towards the stakes at the rear.

Unroll the 4 ropes towards the stakes
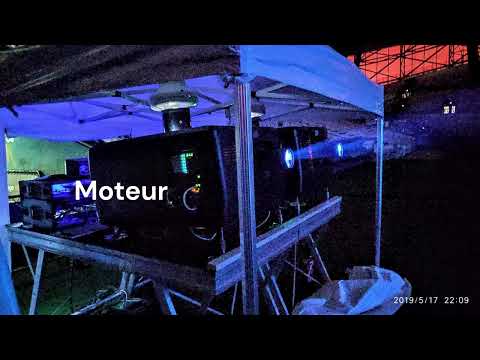
Activating the Blower
- Connect the blower to the sleeve located on the side of the screen.
- Make sure the screen zips (at 3 possible locations: top, bottom, and sides of the screen) and the secondary sleeve behind the bottom of the screen are fully closed.
- Switch on the blower: the screen will rise on its own.

Activating the blower — the screen rises
By following these steps, your projection screen will be correctly installed and ready for use.
Need further help?
Our team is available to assist you with the installation of your Hallucine products.