User Manual for Installing an Inflatable Screen
Contents of the Delivery
- Abaque
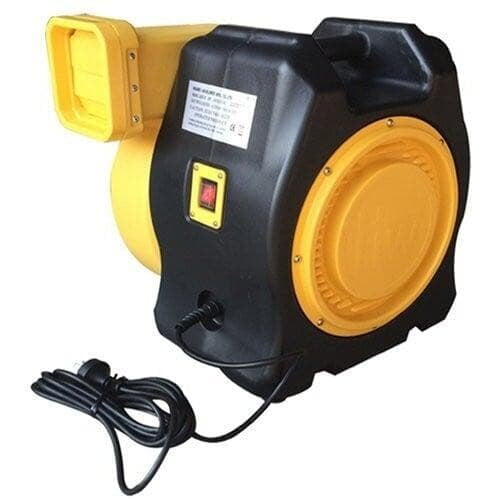
- Blower
- Screen (including all elements already assembled together) :
- Structure
- Projection screen
- Counterweight cloth
- Storage bag (same length as the screen)
- 10 Cords :
- 4 top cords (longest)
- 4 bottom cords (shortest)
- 2 middle cords (intermediate length)
Materials Needed but Not Included
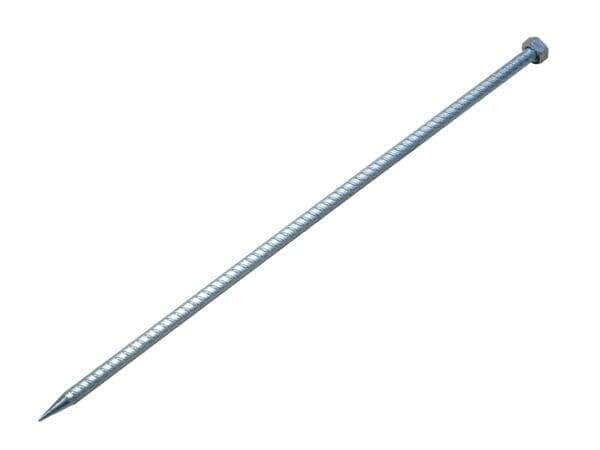
- 4 anchoring stakes
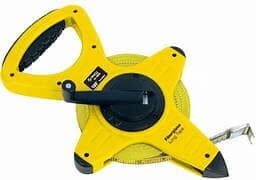
- Double decameter
- 3 kg weight
- Green tarpaulin
Installation Steps
Preparation
- Roll out the green tarp on the ground to protect the area where the screen will be set up.
- Unfold the long bag on the tarp, making sure to identify the front of the bag (indicated by a white sticker). Do not open the bag at this stage.
Securing the Screen Base
- Take out the 4 ropes from the 4 pouches inside the bag and lay them out at right angles (open the pouches’ zippers).
- Stake 4 anchoring pegs, one at the end of each rope.
- Secure the 4 bottom ropes to the pegs to stabilize the base of the screen. Make sure the ropes are taut. For each peg, make a dead turn, followed by a simple stopper knot.
- The bag, still closed, will be fixed at the center of the 4 pegs.
Deploying the Screen
Deploying the Screen
Open the bag and unfold the screen flat on the ground, with the bracing fabric facing down.
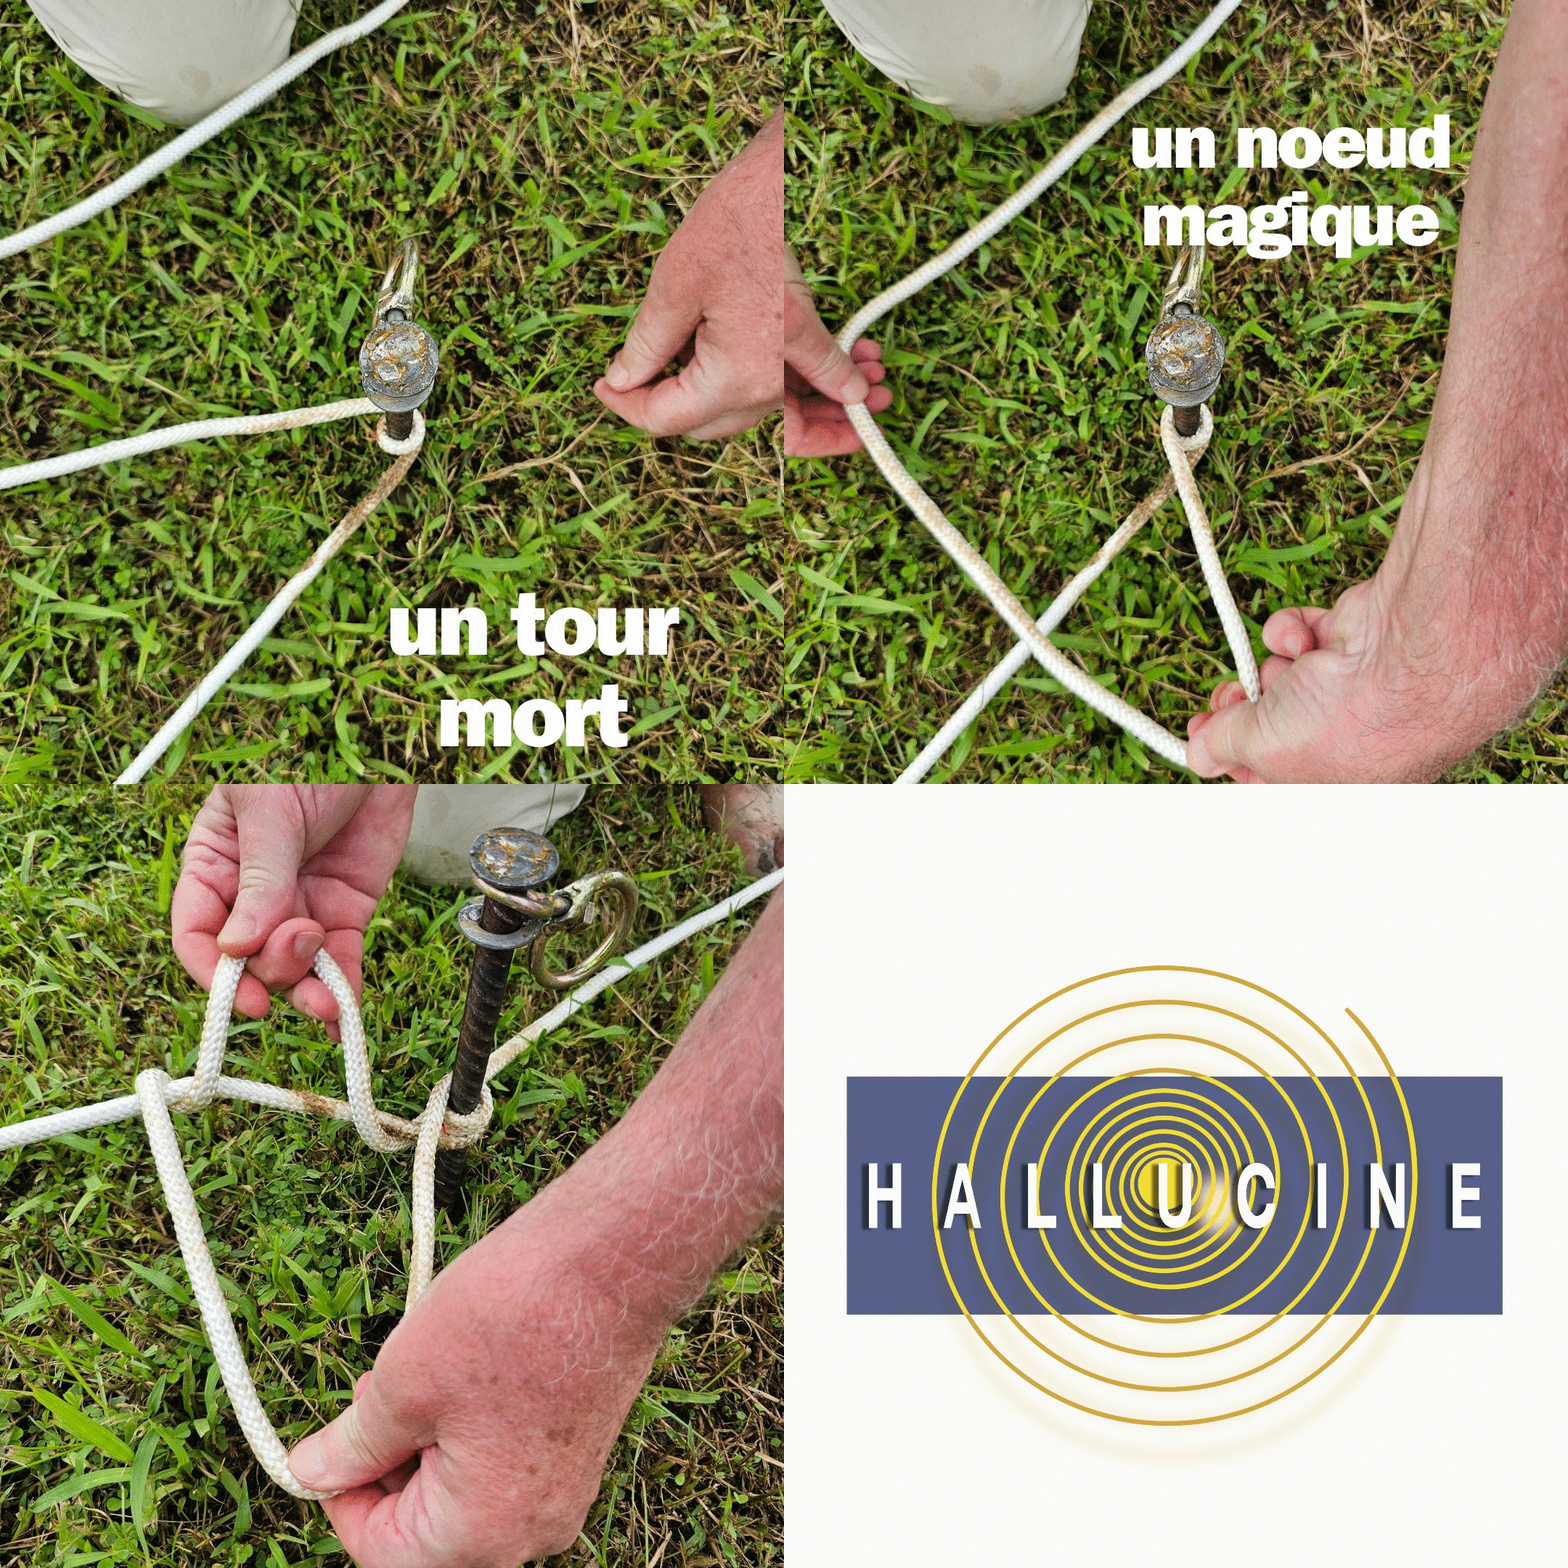
Attaching the Top Ropes
Attaching the Top Ropes
- Fold the Screen in Half
- Fix the 4 top ropes to the screen using the designated loops. Attach two ropes to the right and two to the left, securing them to the same anchoring points on the screen.
- Unroll the 4 ropes, directing 2 ropes towards the pegs at the front of the screen, and the other 2 towards the pegs at the rear.
- Attach the 4 top ropes to the pegs without tightening them. The length of each rope depends on the distance between the peg and the base of the screen (refer to the provided chart).
Activating the Blower
Activating the Blower
- Connect the blower to the sleeve located on the side of the screen.
- Ensure that the screen zippers (which may be located in three positions: at the top, bottom, and on the sides of the screen) and the secondary sleeve behind the bottom of the screen are securely closed.
- Turn on the blower: the screen will inflate and stand up by itself.
By following these steps, your projection screen will be properly set up.
